Its a LONG time coming, but I finally feel like I’m ready to share pictures of our home studio space and talk about how it all came together. This is a 10X14 upstairs bedroom that we have converted into a studio. I also have a 10X10 front room that is my actual office where I keep all of our product samples, etc. I’ll share that on another day. We use the main living area for proofings, the office for pre-consults, and then the studio when we shoot indoors. Eventually we’d like to move onto some property and build a small building for a studio, but for now this works great, clients love it, and I get to get comfortable at “home” when I’m at “work”.
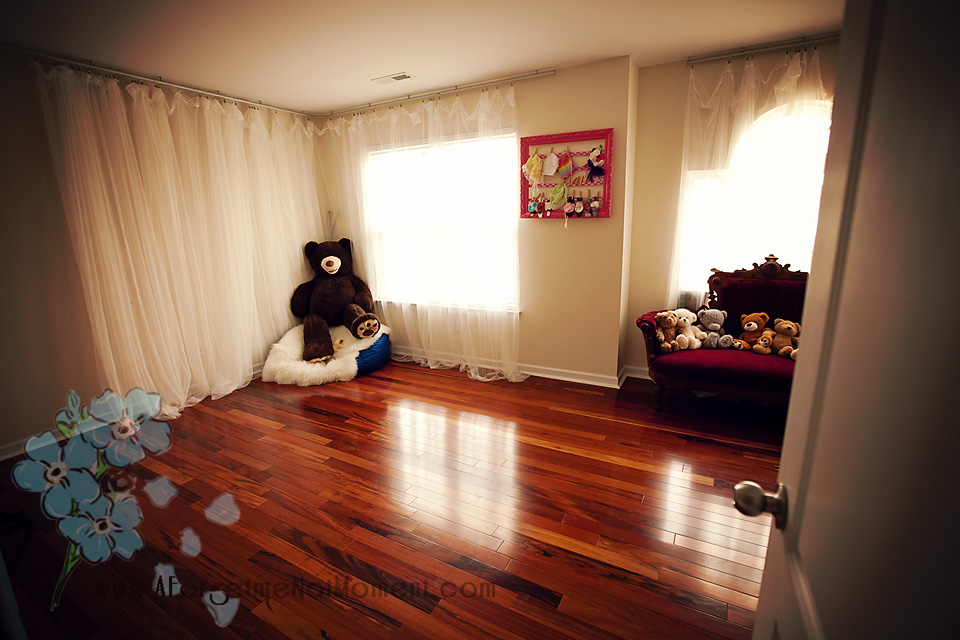
So here is the space as you enter the main doorway. We’ve used an IKEA curtain system to cover both of the main windows. We took out all the carpet and put in this beautiful hardwood. I have 2 main shooting areas (right by the bear, and to the left where you can’t currently see). The couch to the right is my waiting/put all your stuff area. I usually have the bears put up, but my kids have been playing in there so I left them out. 🙂
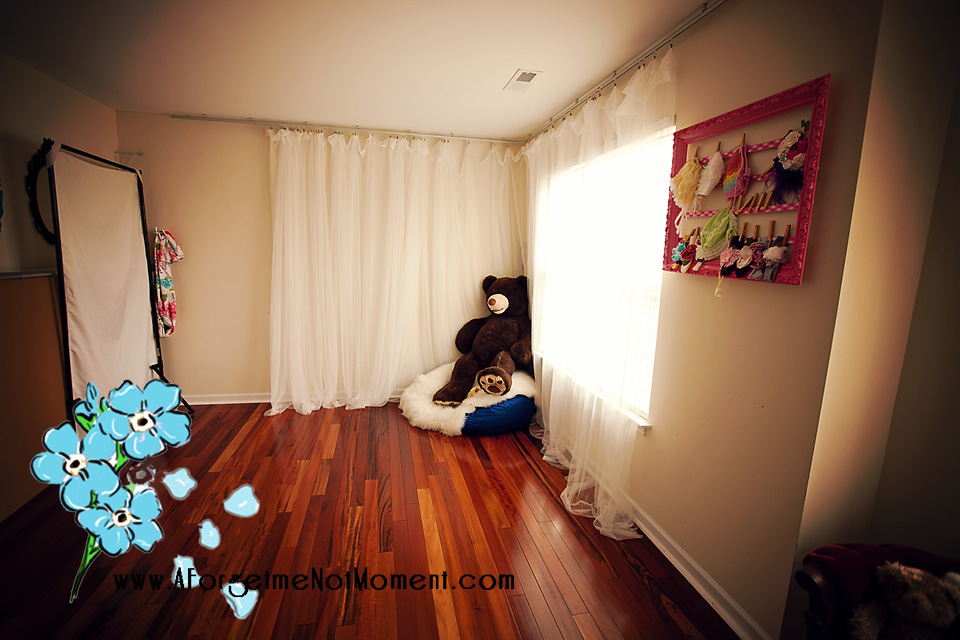
Here is another picture as you enter, but on the left of the image you can see the other shooting area. I have my scrim and reflectors tucked up against the side wall there when I’m not using them. I use a foam core insulation board as my main reflector, and then on occasion use that scrim if I have to break out my OCF. Normally though I try to do only natural light (just prefer the look).
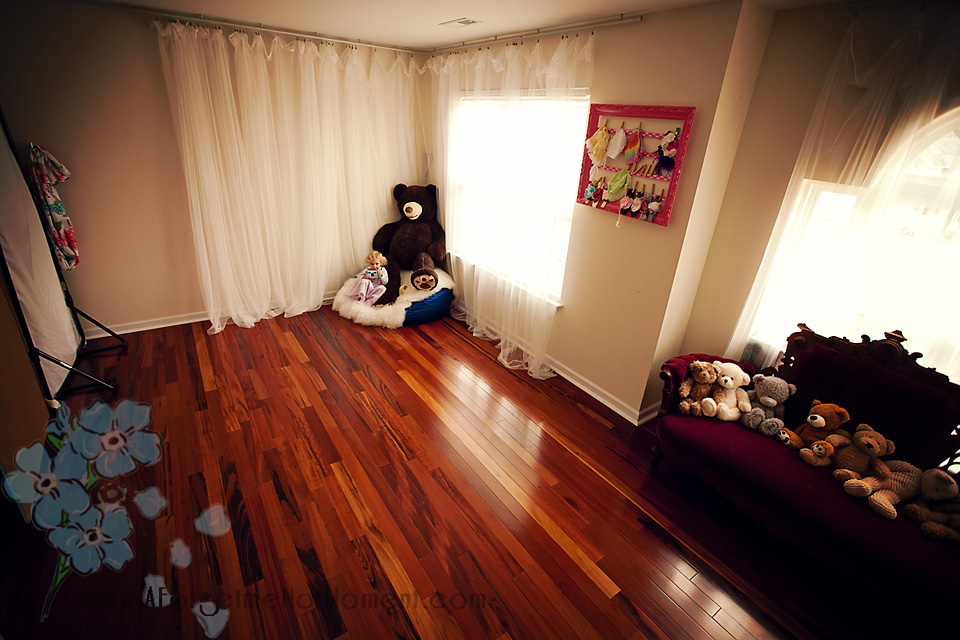
Here is an even wider shot of the whole space (expect the storage area)
This is my main shooting area. I get the most flattering light/shadow combination when shooting here in the early morning. By late afternoon the sun is blaring in this window and the shadows can be a bit more harsh so I’ll move over to the other area (where the lighting tends to me a little more flat). I have a large portable backdrop stand piece (its like a metal pvc pipe) that stretches the entire amount of the wall, so technically I can fit two different backdrops/setups on that wall at once. (please excuse the wrinkles! ;0). You’ll see in a minute how I’ve actually dealt with using my backdrops.
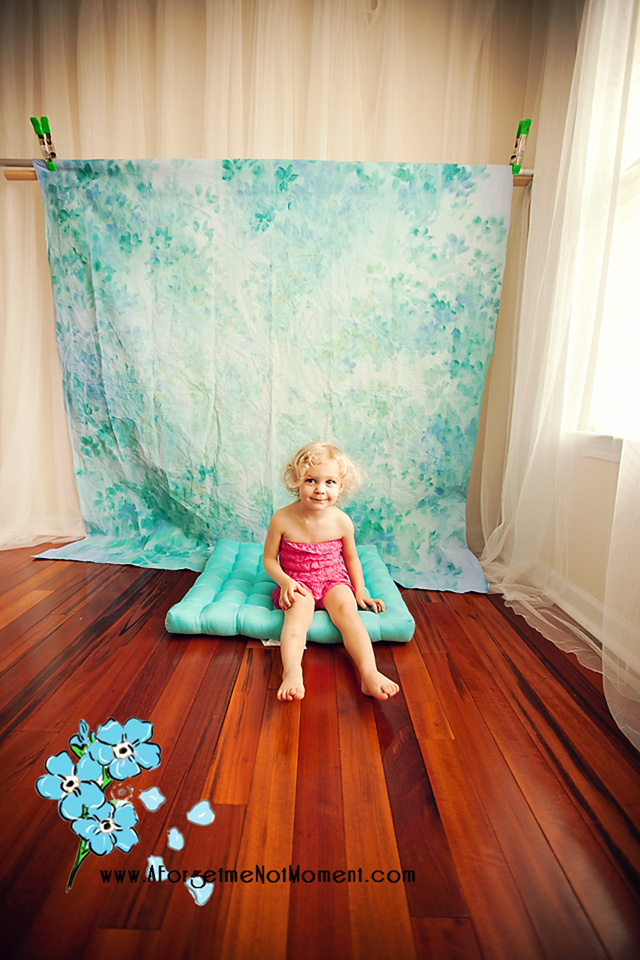
Here is the other area (and my daughter assisting with the photos ;). This area faces the large window, so the lighting tends to be a little more flat, although still very flattering. In this picture you can see what I’ve done to be able to stick the backdrop pieces so they’ll stay there on the wall. I have a piece of plywood stuck back behind those which I use to flatten out my misc fabric backdrops, or if I’m doing something different (like newspapers, paper flowers, whatever). I can also store my foam cores flat (which are used as reflector and backdrop) flat against that wall so they are out of the way as well. The metal pieces are placed just barely high enough to keep those from falling over, and close enough to the wall nothing really slips around. I use the A-clips to hold everything in place. Oh.. and on the back you can see a shower curtain I’ve actually placed on curtain hangers that I can slide up and down the pole for a cute (but short) backdrop there as well.

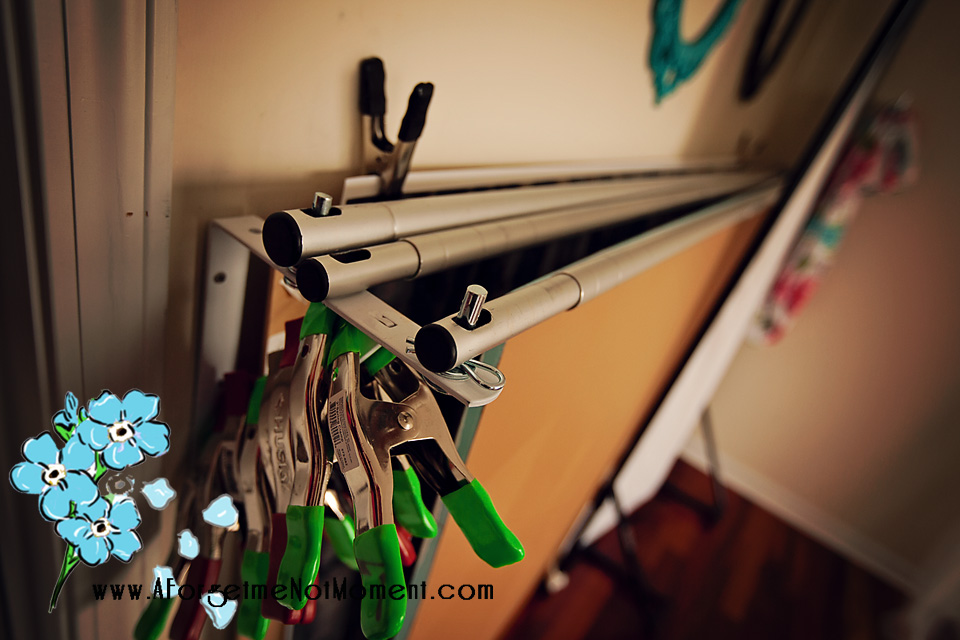
Here is a closer picture of the system that we’ve got holding everything up. Its attached into the wall with wall anchors. You can see one backdrop is clipped onto the plywood at the back, then the foamcore is there in the front.
Here is how I shoot against the foam core, either standing it horizontally or vertically.

Here is an actual decent picture from that area.

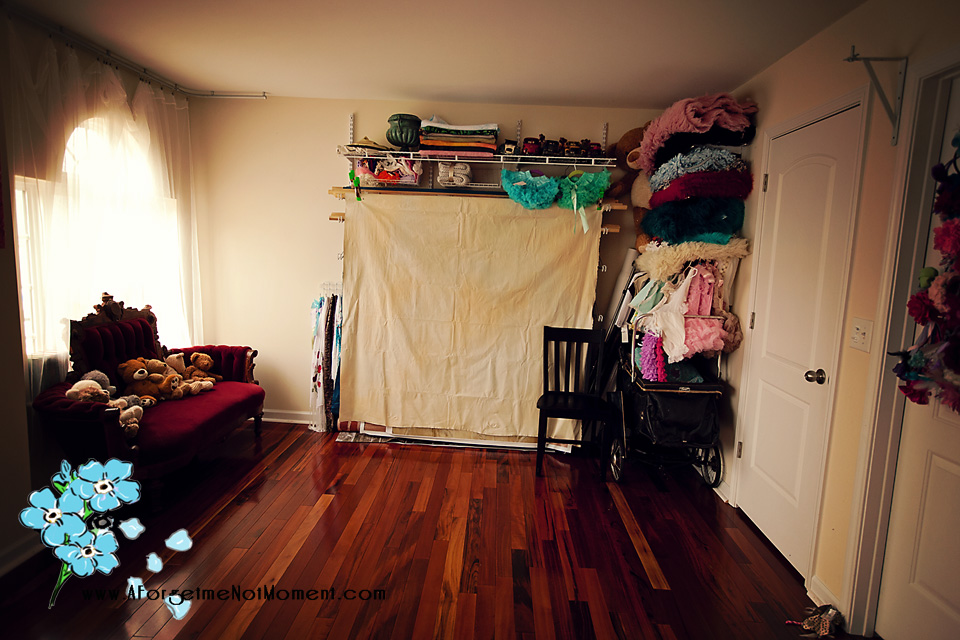
Now moving on to the storage/waiting areas. You can see the parent couch on the left, the place where I hang most of my backdrops straight ahead (some are folded up top and others are tucked into tubes in the right hand corner), and then shelving on the right.
Here’s the shelving right behind the door with some of our rugs/blankets, etc.
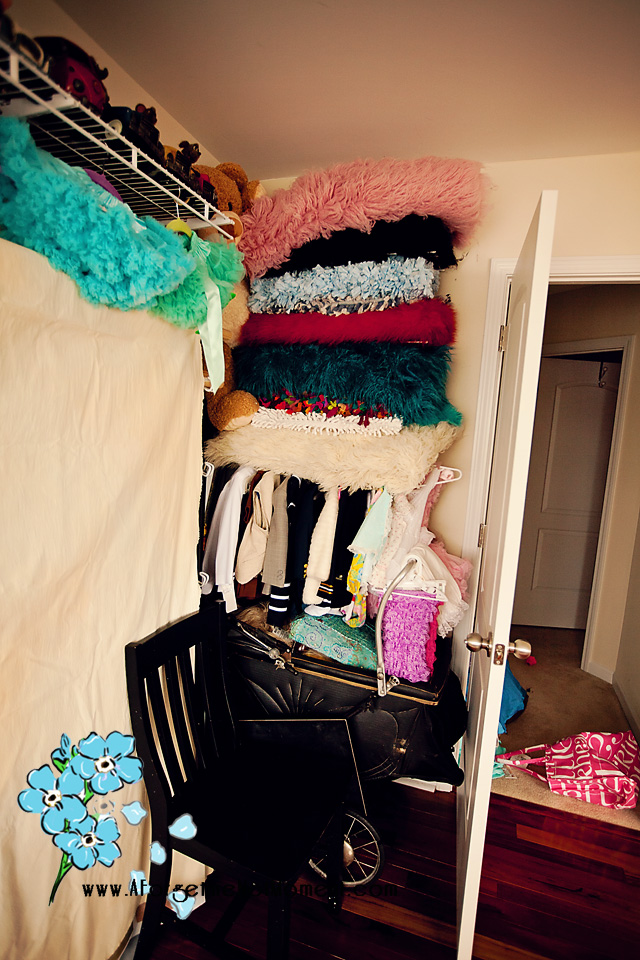
This is the system we actually use to store/hang all the backdrops. Its just a simple closet shelf system with different heights of brackets (with the shelf on the top because I didn’t want to have to reach soooo high to get them down from there). We did the different levels to make it easier to get them down, and so I could actually shoot against this wall if I wanted to. I got the baskets for under the shelves so that space woudlnt’ be wasted. You need to have some space there so you can lift the backdrops out, so we couldnt over crowd the space. You may also be able to see I have some pettiskirts hanging behind there as well. (Have you utilize all the space you can so you don’t take over your home!)
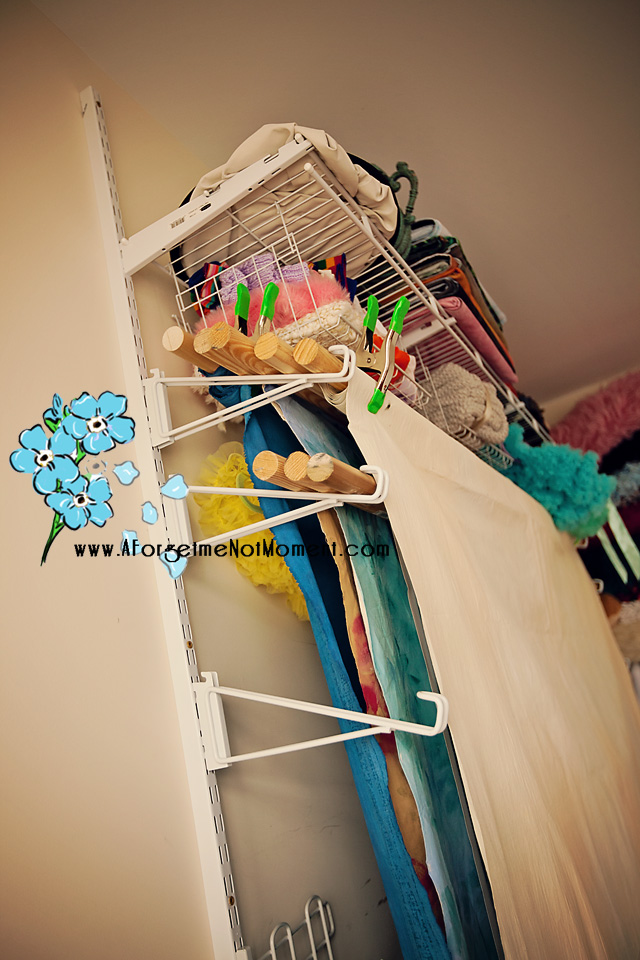
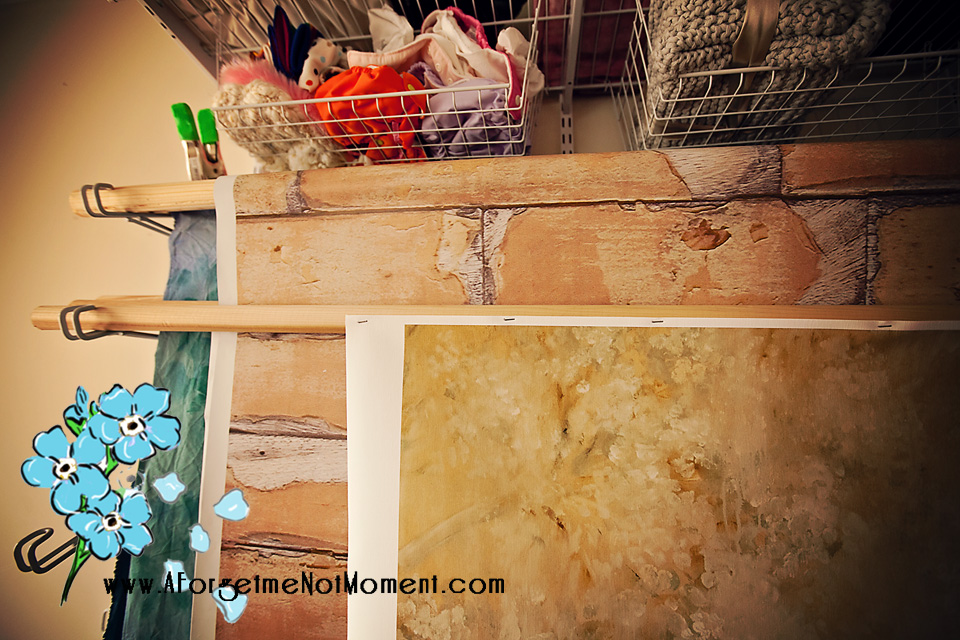
The backdrops themselves are stapled onto large wooden dowels which span the length of the wall. I can just lift up/down/move around the dowel to wherever I need it. When I’m shooting on the other walls, you can see I just lift the dowel over the metal pieces and A-clip them into place (see the above image with the teal backdrop and the little girl in pink).
On the outside edge, I bought a tie hanger to hang up scarves (on the left there).
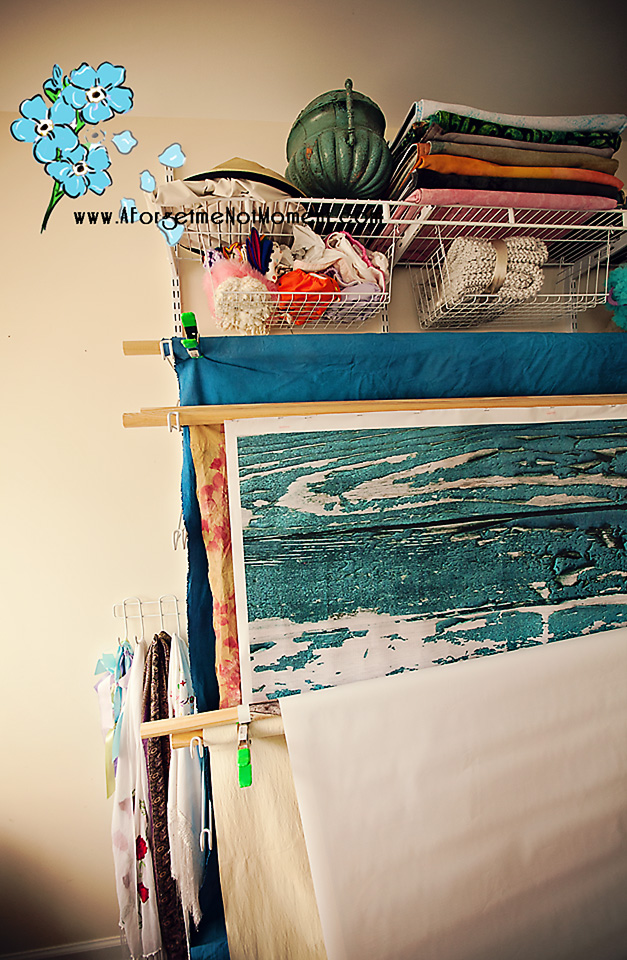
Then here is a picture of how I would use this area to actually shoot with. Just drop down one of the drops (or grab a metal dowel and add one to it) and place it there so it hangs at the height you need it. The brackets are removable. We just have them at heights that are practical for storage and use.

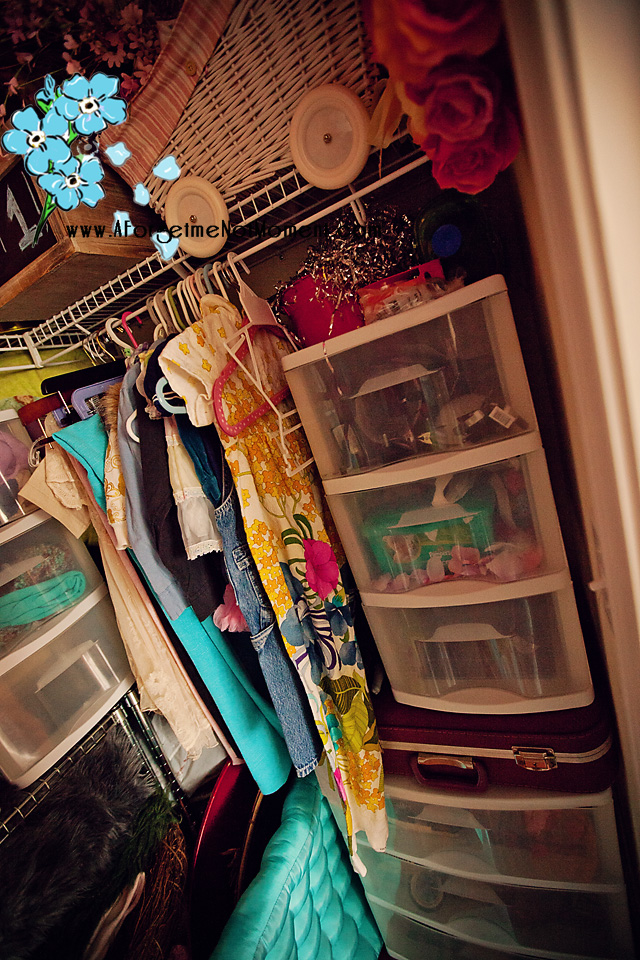
And last, but not least, the closet.. FULL of props.

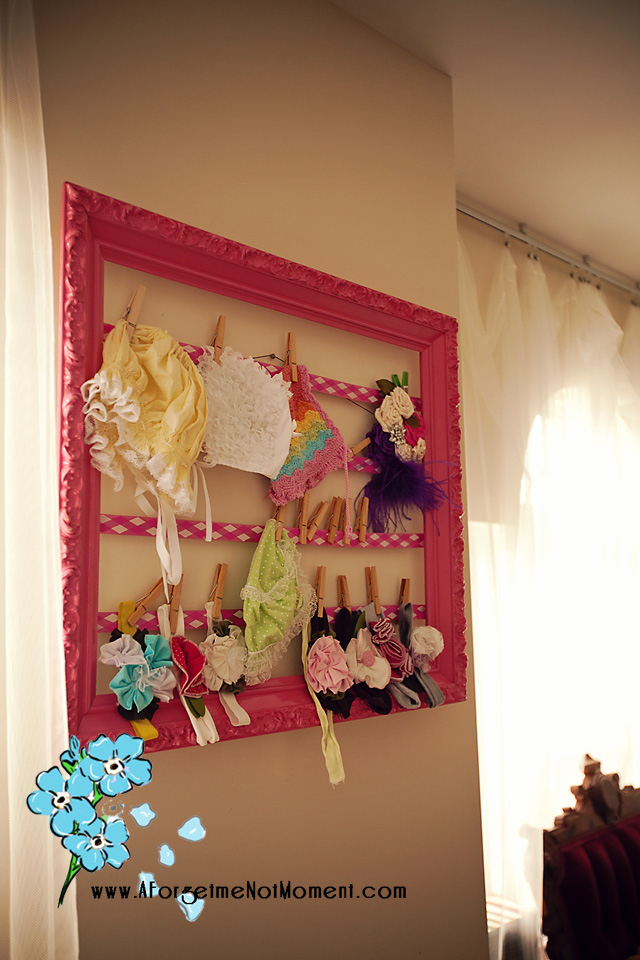
Oh and I can’t forget the cute little frame I painted to hold my hats/bows. It was just a vintage frame I picked up at a yard sale (may have had a mirror in it/can’t remember). We painted a cute little pink, added some plastic backing pieces with some decorative ribbon to hold the bows, etc.
Thanks for touring our studio! I hope this was helpful for you and you can use some of the storage tips in your own space!